What you're working with
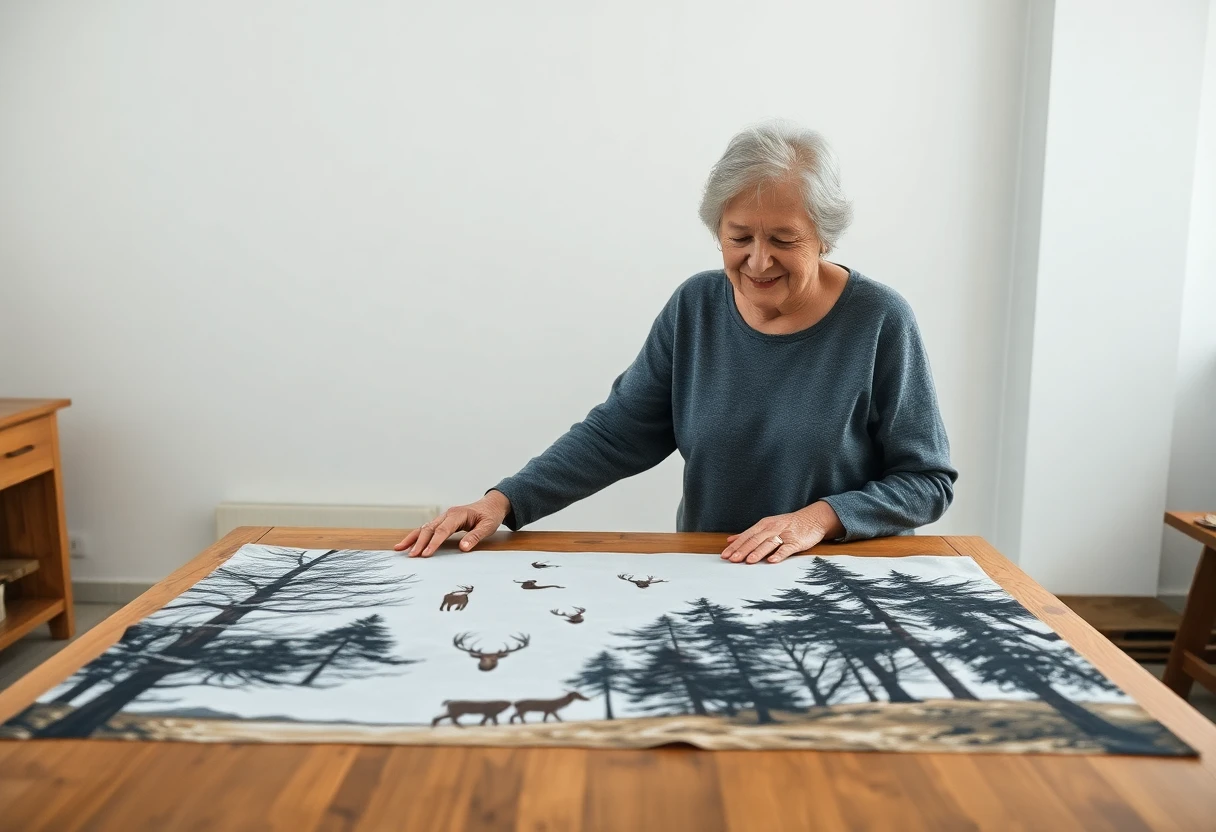
Panels are usually sold by the panel rather than by the yard, and they come in a few widths. Quilt designer Kris Driessen, writing as Phoebe Moon, puts the range at 24 to 36 inches wide and notes that most are sized to be framed by borders or pieced blocks (Preparing a quilt panel). The picture is printed across the width of the fabric, so the other dimension is close to the width of the bolt, around 42 to 44 inches; that's why panels are labeled with sizes like 24 × 44 or 36 × 44. The printed area inside is smaller than the label once you allow for selvages and margins. Measure your own panel before you buy border fabric.
The same article explains the problem every panel quilter meets: the grain of the fabric can shift during printing, so the picture may not sit straight on the threads, and the edges may not be straight either. Prewashing can skew a panel further.
Step 1: Press, then decide about washing
Press the panel from the back with a dry or lightly steamed iron, lifting and setting the iron down rather than pushing it. A panel has a large printed area with nothing to stop it stretching, and an iron dragged along the bias distorts it in seconds.
If you prewash your other fabrics, prewash the panel too, so everything shrinks together. Then press it again and do the squaring check below after washing, not before.
Step 2: Check whether the picture is square
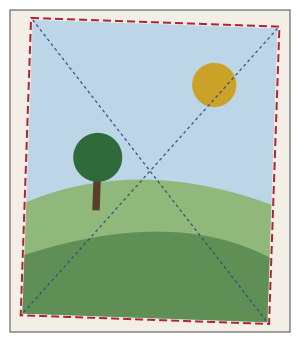
- Find the outer edge of the part you'll keep. Many panels have a printed frame line or a change of color around the picture; others fade out into a plain background.
- Measure the width across the top, middle and bottom of that area, and the length down the left, middle and right. Differences of ¼ inch or so get absorbed when you add borders.
- Measure both diagonals, corner to corner. If they match, the printed area is square. If they differ, the picture is skewed. A true 35 × 42-inch rectangle has diagonals of about 54¾ inches each.
Fixing a skewed panel
For a slightly skewed panel, Phoebe Moon suggests dampening the fabric and gently pulling it straight. Pull on the short diagonal, from the two corners that are too close together, a little at a time, then let it dry flat and measure again. If it's badly off, don't fight it: square to the picture and accept that the threads run a bit crooked. Crooked threads don't show in a finished quilt; a horizon that runs downhill does.
Step 3: Trim to the picture
- Lay the panel on your cutting mat and line up a long ruler with the printed frame line or the edge of the picture, not with the edge of the fabric or the selvage.
- Decide how much of the margin to keep. Leave at least ¼ inch beyond any printed frame line you want to show, or the seam will swallow it.
- Trim one long side, then use a large square ruler on the corner to trim the next side at a true right angle to the printed lines. Work your way around.
- Measure again through the center in both directions. Write the numbers down; your border math starts from them.
If trimming straight would cut into part of the picture, keep a bit more fabric and add narrow coping strips (plain strips of the background or a contrast) to bring it out to a straight rectangle. Our guide to squaring up a quilt uses the same ruler moves on a finished quilt.
Step 4: Work out the borders
Pick a target size, then split the difference. For each direction: border width (finished) = (target − panel finished size) ÷ 2. Add ½ inch to get the cut width. The panel's finished size is your trimmed measurement less ½ inch.
Two borders usually look better than one wide one: a narrow inner border of a color pulled from the picture works like a picture frame's mat, and a wider outer border brings the quilt up to size. Always cut border lengths from your measurement through the center of the panel, not the edge, which may have stretched. The full method is in how to add borders to a quilt.
Example 1: a 36 × 44-inch panel to a 49 × 56-inch lap quilt
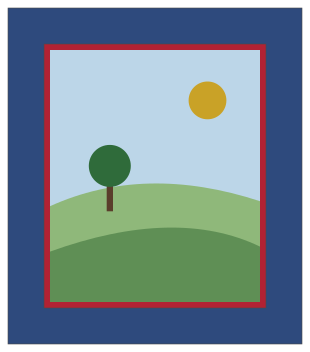
Say the printed area squares up to 35½ × 42½ inches (35 × 42 finished).
| Step | Cut | Size after |
|---|---|---|
| Inner border, sides | Two 1½ × 42½ in | 37½ × 42½ in |
| Inner border, top and bottom | Two 1½ × 37½ in | 37½ × 44½ in |
| Outer border, sides | Two 6½ × 44½ in | 49½ × 44½ in |
| Outer border, top and bottom | Two 6½ × 49½ in | 49½ × 56½ in |
Fabric: the inner border is five 1½-inch strips joined end to end (⅜ yd), because the 42½-inch pieces are longer than one strip. The outer border is five 6½-inch strips joined (1 yd). Binding is six 2½-inch strips for 220 inches (½ yd). The backing must be 57 × 64 inches: buy 3¼ yards, cut two 57-inch lengths and sew them side by side.
Example 2: a 24 × 44-inch panel to a 36 × 52-inch baby quilt
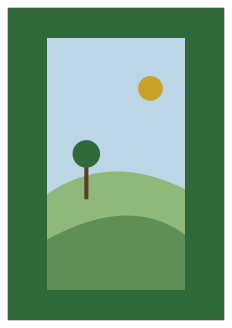
Narrow panels look like a hallway runner if you add equal borders: 7-inch borders all around give 37 × 56 inches, which is still long and thin. Making the side borders wider fixes that. Say the panel squares up to 23½ × 42½ inches (23 × 42 finished), and you want 36 × 52:
- Side borders: (36 − 23) ÷ 2 = 6½ inches finished, so cut two strips 7 × 42½ inches. They're longer than one strip, so join three 7-inch strips and cut both from that.
- Top and bottom: (52 − 42) ÷ 2 = 5 inches finished, so cut two strips 5½ inches wide. After the side borders, the panel is 36½ inches wide, so cut them 36½ inches long, one from each of two 5½-inch strips.
- Border fabric: 1 yard covers all five strips. Binding: five 2½-inch strips for 186 inches (½ yd).
- Backing: 44 × 60 inches. Buy 2 yards: cut a 60-inch length, then join two 5-inch strips from the rest end to end and sew them to one long side to make it about 44½ inches wide.
For other sizes, run the same arithmetic. StitchTested's quilt size chart lists target sizes, and its binding and backing calculator does the last two lines for you.
Step 5: Quilt around the picture
Let the printed picture tell you where to stitch, and keep the whole quilt evenly quilted so it lies flat:
- Outline the main shapes. Stitch just outside the edge of each large motif (a deer, a barn, a tree line), about ⅛ inch away, so the stitching frames the shape without crossing it. Don't stitch across faces.
- Stitch in the ditch along every border seam first, to stabilize the quilt before the detail work.
- Fill the background (sky, water, plain ground) with a simple texture: horizontal lines for sky and water, a loose meander for fields. Our free-motion quilting guide covers meanders.
- Keep the density even across the panel and the borders. A heavily quilted border around a lightly quilted center makes the center puff up and the quilt won't lie flat. Check the batting package for the farthest apart its lines can be and stay well inside it everywhere; our batting guide compares the common types.
- Choose thread to match the area you're stitching (a light blue in the sky, green in the trees), or a neutral midtone that blends across several colors.
Common mistakes and fixes
| Problem | Cause | Fix |
|---|---|---|
| Wavy borders | Borders cut to the panel's edge, or sewn on without measuring | Cut borders to the measurement through the center and pin the midpoints and ends before sewing. |
| Crooked picture | Trimmed along the fabric grain or selvage | Trim to the printed lines; add a coping strip where you need more fabric. |
| Panel stretched out of shape | Iron pushed across it; panel pulled while pinning | Lift and press; dampen and block it square on a flat surface, then let it dry. |
| Printed frame line cut off | Trimmed too close | Leave ¼ inch beyond any line you want to show, or add a narrow inner border that echoes it. |
| Center puffs up after quilting | Borders quilted more densely than the panel | Add quilting in the open areas of the panel until it matches the borders. |
Panels worth trying
Holiday panels make quick gifts; a Christmas panel finished in an evening goes well with the projects on our Christmas quilt ideas page. Patriotic panels with eagles or flags suit a veteran's lap quilt, and a soft baby-animal panel with the borders from example 2 is a fast charity quilt for a hospital or shelter. Panels are also a simple way to use a quilt-as-you-go border if your machine struggles with a big quilt: quilt the panel on its own, then add the borders with their own batting strips.
Once it's bound (see how to bind a quilt), sew a label on the back with your name and the date.
You might also like
 English paper piecingWrap fabric around paper shapes, baste with thread or glue, then stitch the edges together by hand.
 How to add borders to a quiltMeasuring through the center, butted and mitered corners, and border strip math with a worked example.
 Echo and feather quiltingEcho lines around shapes, and feathers by hand and machine: spines, plumes, the bump-back method and common fixes.
 Quilts of Valor: requirements and how to make oneThe Foundation's size, fabric and label rules in plain English, plus a pattern that fits them.