Fabric
| Fabric | Amount |
|---|---|
| Charm pack (5-in squares) | 1 pack; you need 40 squares |
| Cream background | ¾ yd |
| Border | ⅝ yd |
| Binding | ⅜ yd |
| Backing | 1½ yd of 60-in-wide flannel or minky, or 2⅔ yd of standard cotton (two 46-in lengths, seamed) |
| Batting | Crib size (45 × 60 in) |
Sorting the charm pack
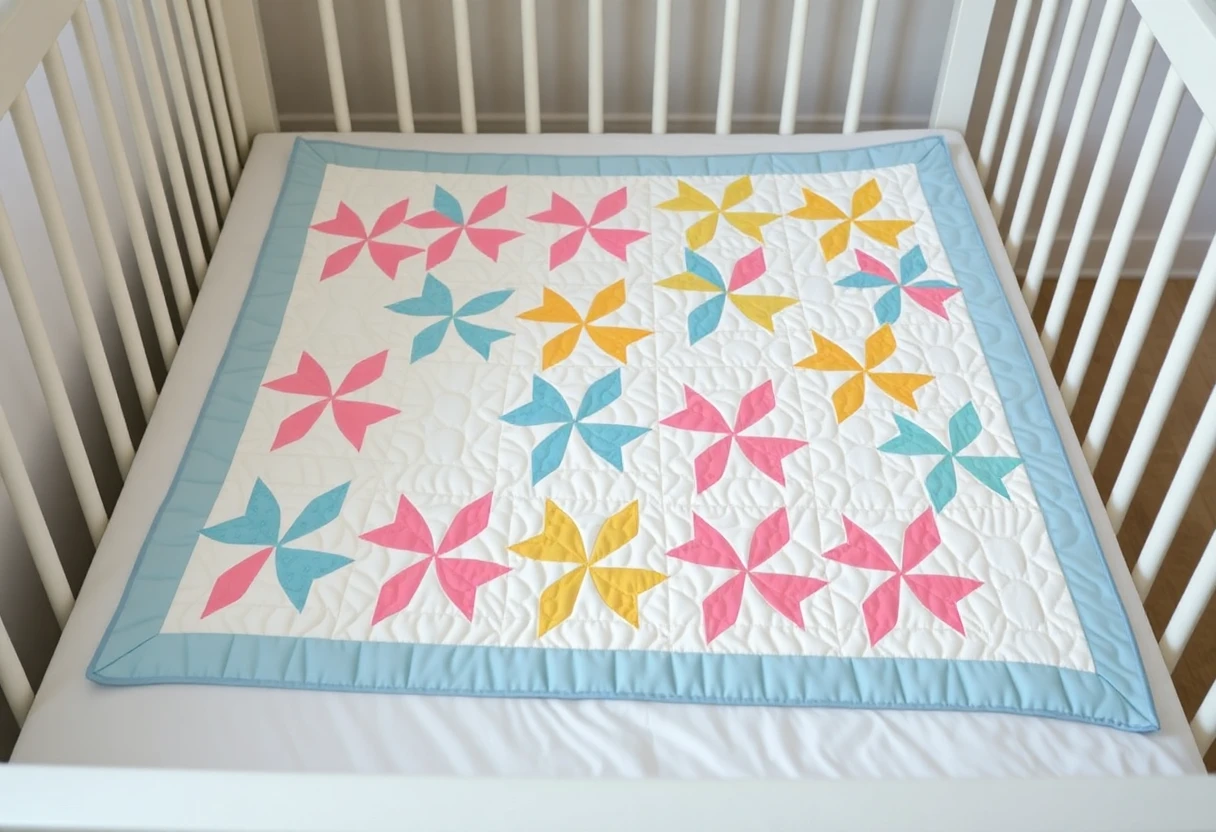
Pastel charm packs have a problem this quilt exposes. Every blade sits right against cream, and a pale yellow or a print on a white ground disappears into the background. The blade loses its point and the block stops spinning. Lay each charm square on the cream and squint, or take a black-and-white phone photo of the whole spread. Any square that reads almost as light as the cream comes out. The blocks sit side by side, so the cream corners of neighbors also join into cream pinwheels, and those only show when the blades around them are clearly darker.
A charm pack usually has 42 squares, so you can drop two for free. If more than two are too pale, buy ¾ yd of the border fabric instead of ⅝ and cut one extra 5-inch strip from it. That gives eight 5-inch squares to stand in for the weak ones, and blades in the border color tie the center to the edge.
Each block uses two prints, two blades of each. Pair prints of different colors but similar strength, a pink with a blue or a mint with a lilac, so both sets of blades show equally. A strong print next to a faint one makes the block look like it has two blades, not four. Skip one-way prints: each print fills two blades on opposite sides of the center, so one of the two is always upside down.
Cutting
- Cream: 5 strips 5 inches wide, cut into 40 squares, 5 × 5 inches.
- Border: 5 strips 3½ inches wide.
- Binding: 5 strips 2½ inches wide.
The ¾ yd of cream leaves no spare squares. If you'd like a couple in reserve for a half-square triangle that trims crooked, buy ⅞ yd and cut 6 strips (48 squares).
Make the half-square triangles
Draw a diagonal line on the back of each cream square. Pair each with a charm square, right sides together, sew ¼ inch from both sides of the line, cut on the line and press toward the print. Pressing toward the print keeps a pastel seam allowance from shadowing through the cream. Trim every half-square triangle to 4½ inches square. You'll have 80, two from each print. Our zigzag pattern shows this step in more detail, and how to make half-square triangles compares the methods.
Sew the pinwheels
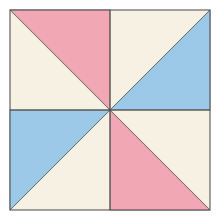
- Take two HSTs from one print and two from another. Arrange them so the print triangles chase each other around the center, as in the diagram, with the two prints alternating.
- Sew the top two together and the bottom two together. Press the top pair's seam to the left and the bottom pair's to the right, so they nest.
- Sew the two halves together, matching the center point carefully; pin right through the center seam.
- Spin the center seam: undo the two or three stitches in the seam allowance on each side of the center (not in the seam itself), and the allowances will fan out in a little circle. The center lies flat instead of forming a lump.
- Each block measures 8½ inches. Make 20.
The pinwheel block page has the block at other sizes and a diagram of the spun center.
Why every block should spin the same way
Press all 20 blocks in exactly the same order (top pair left, bottom pair right) and they'll all spin in the same direction. That pays off when you sew the blocks together. With a spun center, the seam allowance at the middle of each block edge points one way on the left edge and the opposite way on the right edge, and the same goes for top and bottom. Set two identically spun blocks side by side and those allowances point in opposite directions, so they nest without any repressing. If one block was pressed the other way round, its edges fight both neighbors; fix the block before you sew the row, not after.
For the rows themselves, press the seams between blocks to the right in rows 1, 3 and 5 and to the left in rows 2 and 4, then press the long row seams open. Open seams there keep the block corners, where eight triangle points meet, from stacking into a hard knot.
When a block won't behave
A center that refuses to spin usually means the two halves were pressed the same direction, so one allowance would have to fold back against its own stitching. Press that center seam open instead. The block lies flat, but it no longer nests on its own with its neighbors, so pin those two edge intersections.
Measure all 20 blocks before you lay them out. Within ⅛ inch of 8½ is fine and eases in with a pin. A block that's ¼ inch small is almost always one half-square triangle trimmed short or one wide seam, so measure the two halves before you unpick anything. A short HST can be replaced from one of the two spare charm squares and a cream square, which is the case for buying the extra cream. Trimming the whole block down instead would cut the blade tips off at its corners.
Assemble and finish
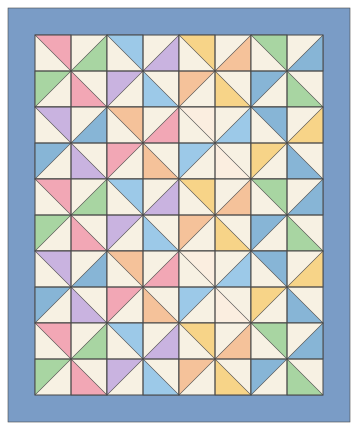
Lay out 5 rows of 4 blocks, mixing the colors. Sew the rows, then join them; the center is 32½ × 40½ inches. Join the border strips, sew two 40½-inch pieces to the sides and two 38½-inch pieces to the top and bottom (measure through the center first).
Each HST seam in this layout runs from a block's center to its corner, and at the corner it meets the seam of the next block. So the diagonal seams line up into long straight lines that cross the whole center at 45 degrees. That makes the walking-foot plan easy: quilt diagonal lines in both directions along those seams, about ¼ inch to one side of each seam so the needle doesn't climb over the spun centers and the block corners. The lines cross at every block center and every block corner, about 5¾ inches apart, and you don't have to mark anything except the first line. Finish the border with one straight line through its middle. A gentle all-over pattern works too if you'd rather.
Machine bind for durability. As with any baby quilt, skip buttons and embellishments, and follow your pediatrician's safe-sleep advice about soft bedding in the crib. See how to bind a quilt and how to label one.
Other sizes
Every size uses 8-inch blocks, a 3-inch border and the same cuts, and each was checked by calculation. The throw takes two charm packs and uses all 84 squares, so there are none to spare; count both packs before you start, and if one is short, cut 5-inch squares from the border fabric.
| Layout | Blocks | Charm squares | Finished (3-in border) | Cream | Border | Binding | Backing | Batting |
|---|---|---|---|---|---|---|---|---|
| 3 × 4 | 12 | 24 | 30 × 38 in (doll or stroller) | 3 strips (24 squares), ½ yd | 4 strips, ½ yd | 4 strips, ⅜ yd | One 46-in length, 1⅜ yd | Crib size (45 × 60 in) |
| 4 × 5 (this pattern) | 20 | 40 | 38 × 46 in | 5 strips (40 squares), ¾ yd | 5 strips, ⅝ yd | 5 strips, ⅜ yd | Two 46-in lengths, 2⅔ yd | Crib size (45 × 60 in) |
| 6 × 7 | 42 | 84 (2 packs) | 54 × 62 in (throw) | 11 strips (84 squares), 1⅝ yd | 6 strips, ⅝ yd | 7 strips, ⅝ yd | Two 62-in lengths, 3½ yd | Twin size (72 × 90 in) |
The stroller size backs with a single width of fabric, which is about 40 inches after the selvages come off and just covers 30 inches plus 4 on each side. On the throw, the backing lengths are sewn side by side and turned so the seam runs across the quilt. For other quilt sizes, StitchTested's binding and backing calculator does the finishing math.
See all free quilt patterns. Free for personal and charity use; please don't sell the pattern itself.
You might also like
 Easy baby quilt48 big squares from 8 fat quarters, 36 x 48 in, with crib, toddler and throw sizes.
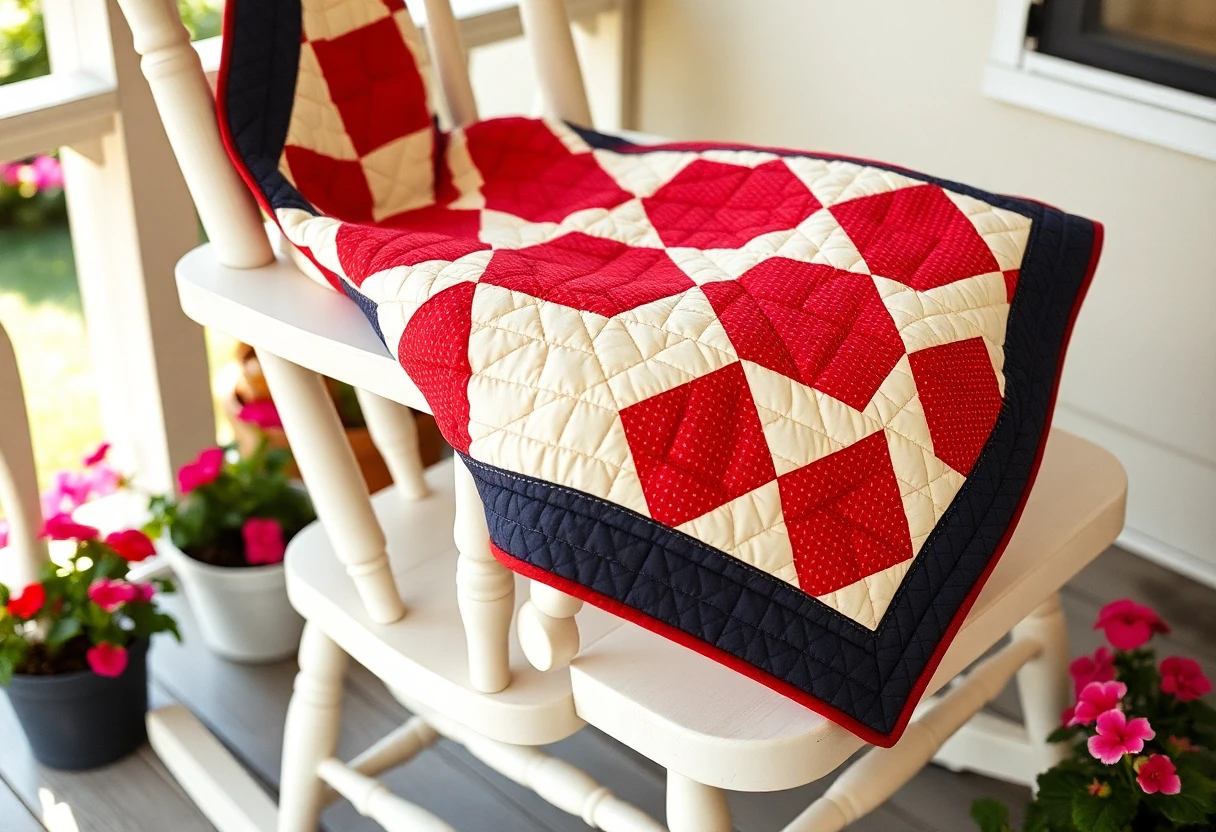 Nine-patch throw quiltThe classic first quilt, a 53 x 71 in throw with only squares to cut and sew.
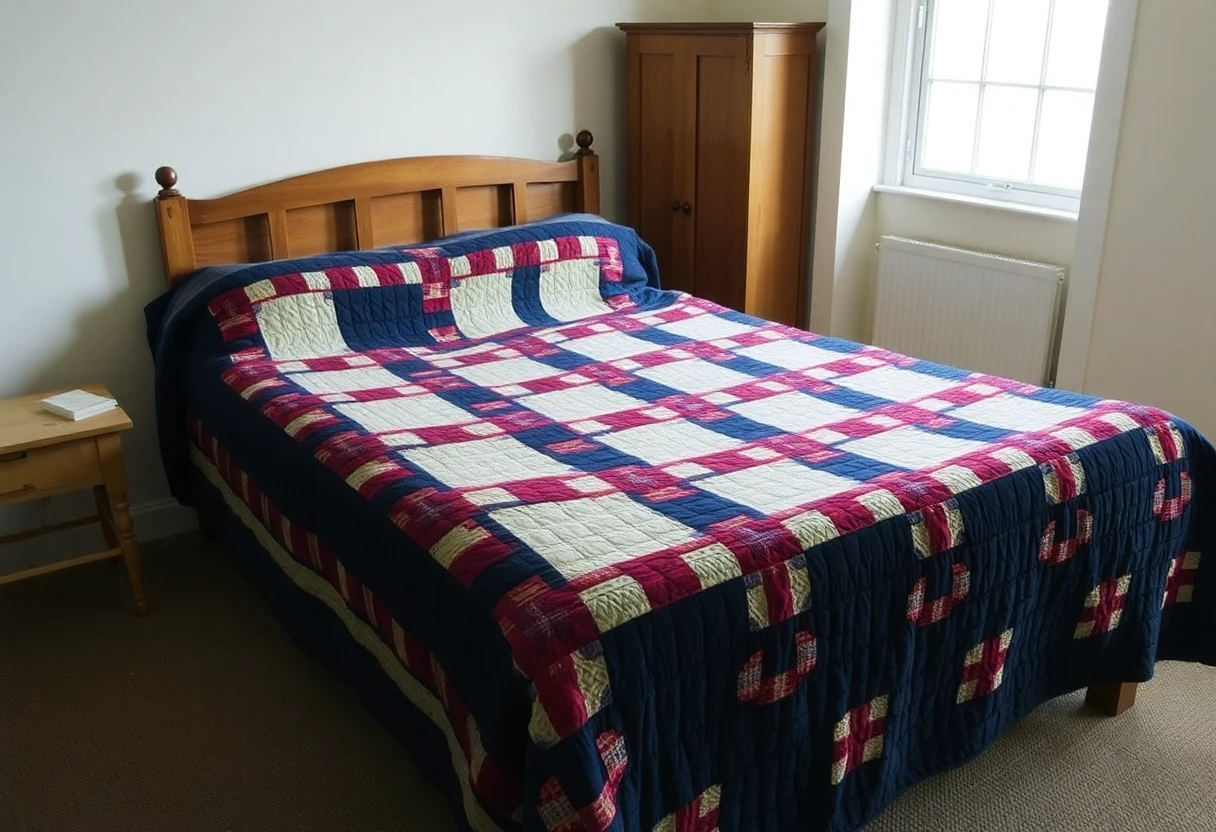 Double Irish chain quiltNavy and red chains on cream, 58 x 78 in, strip pieced so there are no tiny squares to cut one by one.
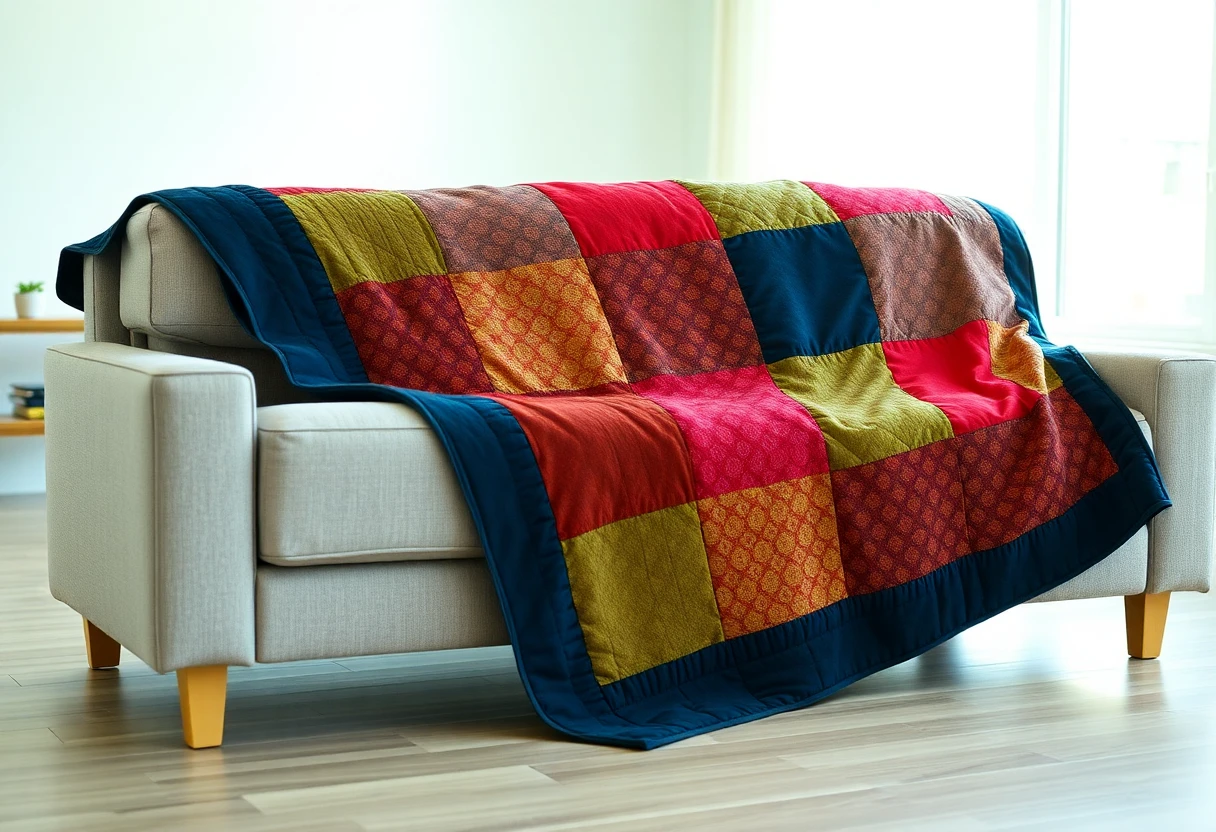 One-layer-cake throwAll 42 squares of one layer cake plus a border, a 64 x 73 in throw in an afternoon of sewing.